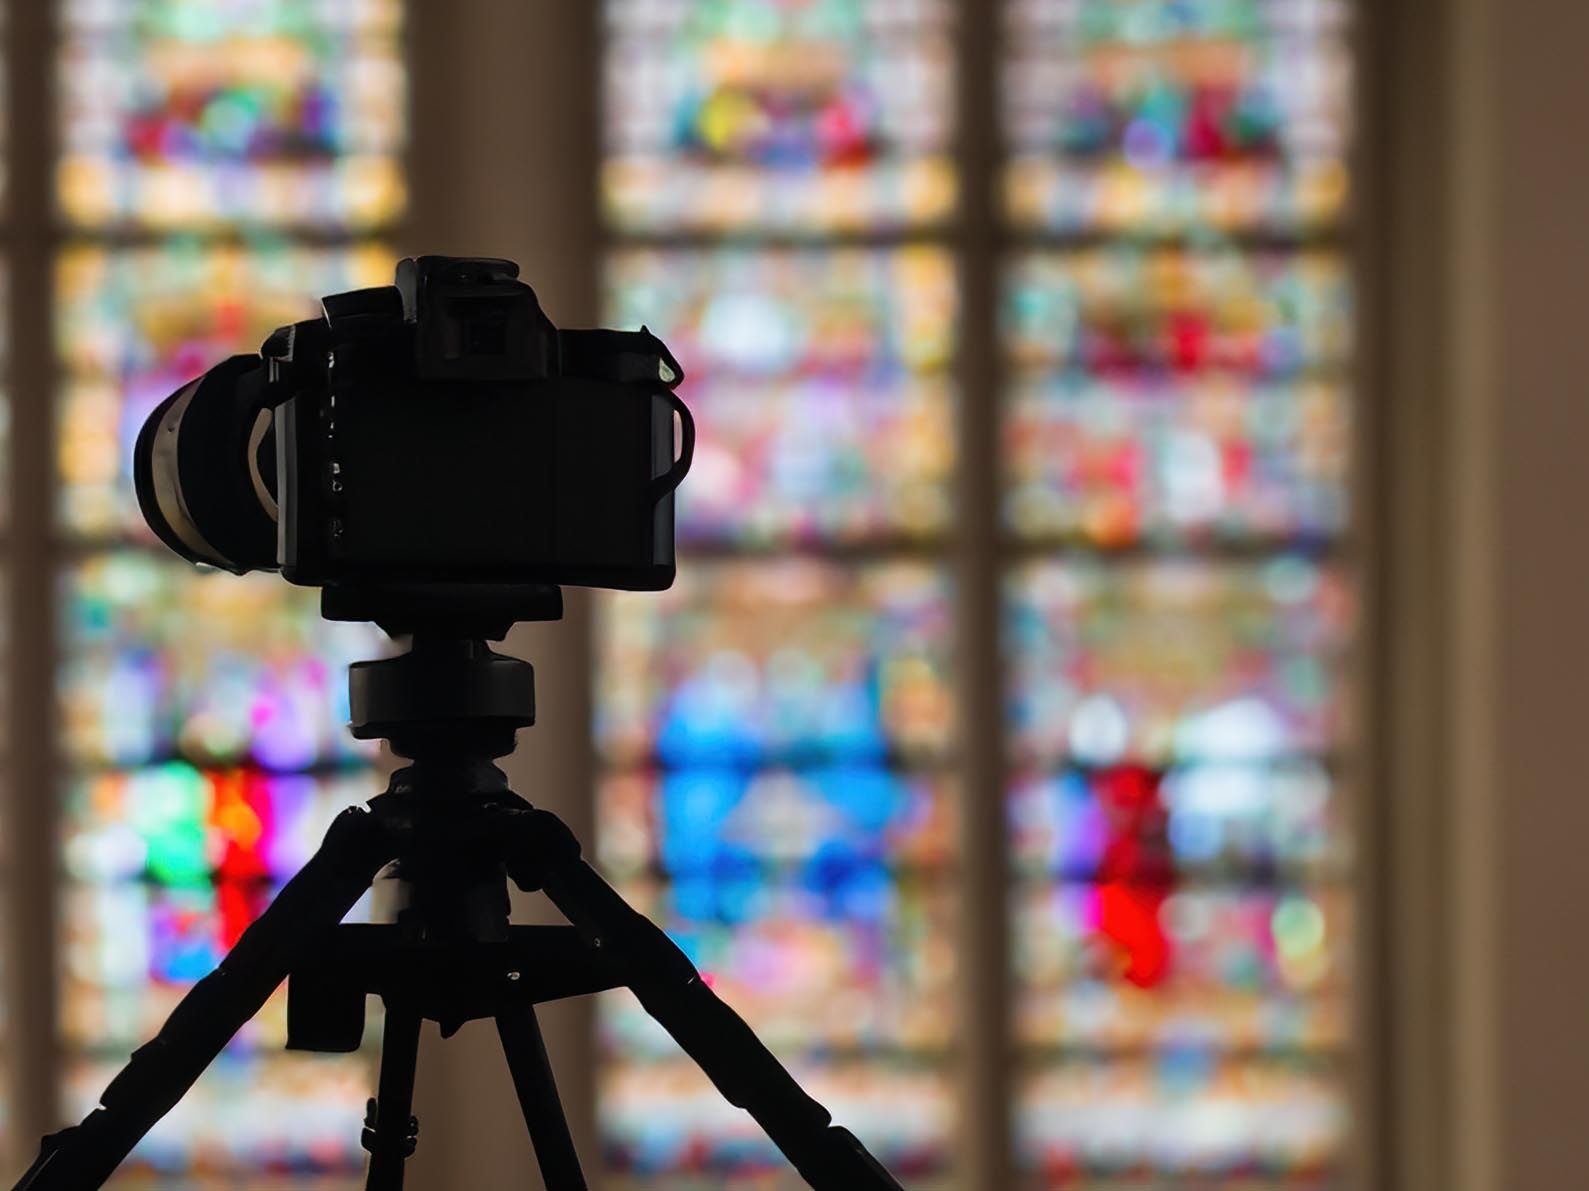
I’m going to start by admitting that photographing stained glass windows can be challenging, but the effort is well-worth while as they are both visually stunning and historically fascinating.
Stained glass windows have always been intended to convey a message. When most of the congregation couldn’t read, a picture, as the saying goes, painted a thousand words.
Consequently, many windows have photogenic imagery, but there’s a catch. We usually capture light falling on a solid object, but for stained glass we need to capture the light itself shining through flat glass, with no highlights or shadows, no reflections, no 3D form.
Over the years of professionally photographing windows in major cathedrals and parish churches I’ve developed a checklist of six key points to cover. So, if you need a few tips, on how to photograph stained glass windows, read on!
You May Also Enjoy:
NIGHT-TIME AND DARKNESS PHOTOGRAPHY HACKS: USING A LASER POINTER TO ACHIEVE PERFECT FOCUS
A Professional Photographer's Guide On How To Photograph Stained Glass Windows
There are many tips and tricks that you’ll want to learn in order to understand how to photograph stained glass windows. Here, you can steal my personal checklist to ensure that your images turn out exactly how you envisioned them.
How To Photography Stained Glass Windows: Choose the Right Time of Day
The first step to learning how to photograph stained glass windows is to choose the right time of day. Stained glass needs to be back-lit to look good, so you can’t use a flash or other lighting in front of it. Extra lighting shining on the side of the window you are looking at actually makes things worse. Ideally, you want to photograph the windows when the sun is not shining directly on them, as this can cause over-exposure and a loss of detail. The best time to photograph stained glass windows is during the early morning or late afternoon when the light is soft and diffused. Most Christian churches are aligned East/West, making it easy to work out when the sun will shine on each side of the building.
Pick The Right Weather
A clear, dry and slightly overcast day is best when figuring out how to photograph stained glass windows. Bright noon-day sun is too bright and colours get washed out whilst very low light on a dull day won’t show off the colours. Many windows have an exterior metal grid to protect them, and in bright sunshine this casts distinctive shadows all over the glass.
A clear sky really helps too, especially if you go for a HDR approach with several exposures – clouds passing in front of the sun create shadows and change the intensity of the colours in the glass.
When Learning How To Photograph Stained Glass Windows, Always Use A Tripod
To capture sharp, detailed images of stained glass windows, it’s essential to use a tripod. A tripod helps stabilize your camera and reduces camera shake, resulting in sharper images. If you want to take a series of shots to correctly expose for the inside of the building and the window, then the tripod ensures everything will line up in post-production, and enables you to take longer exposures without blurring the image. A wide-angle lens is often used and this can create distortion if the camera isn’t dead level, so use the spirit level on the tripod when you can.

A tripod is just about essential for stained glass photography. It makes the task so much easier.
Photograph copyright: David Robinson
Adjust Your Exposure Settings
The brightness of a window surrounded by a dark interior can confuse the auto settings on your camera, so start by selecting manual mode and adjusting the aperture and shutter speed to achieve the correct exposure. You may need to experiment with different exposure settings, depending on the lighting conditions and the colours of the stained glass windows.

How To Photograph Stained Glass Windows: Focus on the Details and Interesting Angles (or Angels)
When learning how to photograph stained glass windows, you’ll notice that stained glass windows are intricate and beautiful, but they are also usually quite large. Getting it all in shot can be challenging in a confined space so consider focusing on the details instead. This can also help you achieve an even exposure right across the window. Where trees or buildings outside cast shadows, work on areas that have the same uniform lighting instead of trying to balance light and shade in the same shot. Alternatively, deliberately include an under- or over-exposed area to the side of the window. This is popular with many church magazines as it gives a space to add wording to the image.

Use contrast to your advantage and create dead space for text.
Photograph Copyright: David Robinson
Consider the Composition
The composition of your photograph makes a big difference to the final result. Consider the angle and placement of the window in the image and experiment with different compositions to find the most visually appealing one. You can use leading lines or other compositional techniques to draw the viewer’s eye to the window and create a sense of depth.
Be aware that pointing your camera up at the window will result in vertical lines seeming to converge, that a correctly exposed window often means a very under-exposed surround, and that windows usually benefit from a portrait orientation rather than landscape.

Harsh sunlight reveals the shadows from protective wire netting; so try again on a day with softer and more diffuse lighting.
Photograph Copyright: David Robinson


